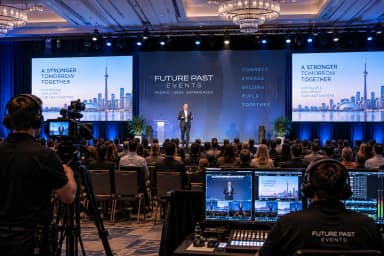
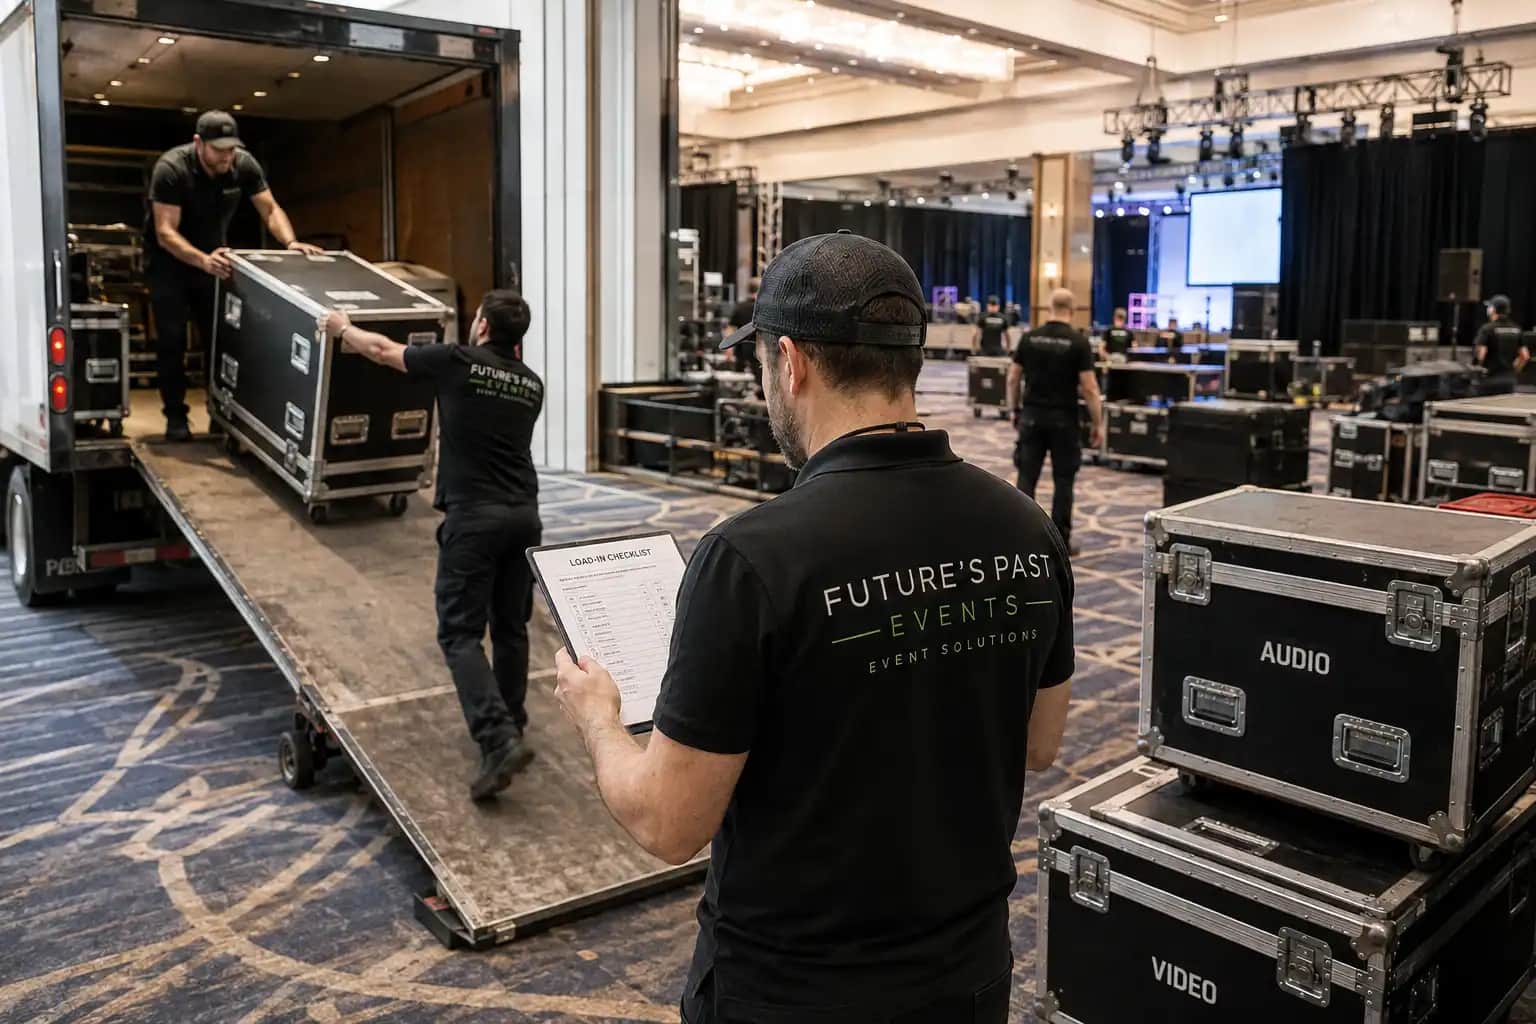
An event load-in checklist turns the most compressed part of show day into a controlled production process. Before guests see the stage, screens, lighting, registration area, sponsor displays, or décor, crews have to move equipment into the venue, build it in the right order, test every system, and leave enough time to fix problems.
For corporate conferences, AGMs, galas, product launches, trade shows, and hybrid events, load-in should be planned as part of the wider corporate event production process—not treated as a delivery window. A strong event load-in checklist coordinates venue access, AV crews, staging, lighting, catering, furniture, branding, security, and other vendors around one shared schedule.
Why an Event Load-In Checklist Matters Before Show Day
Most load-in problems begin before the truck reaches the venue: a freight elevator is double-booked, the ballroom is released late, décor blocks an AV cable path, or a presenter arrives while the main screen is still being installed.
An event load-in checklist reduces those conflicts by showing who enters the space, what must happen first, and what has to be complete before the next task starts. It also protects time for system testing, rehearsal, troubleshooting, cleanup, and the final guest-ready reset.
If you have not confirmed dock access, freight elevators, ceiling restrictions, room dimensions, power, internet, and vendor policies yet, complete an event venue walkthrough before locking the load-in schedule.
How early should event load-in start?
There is no universal start time. A simple meeting may need a short setup window; a multi-room conference with staging, LED displays, rigging, décor, cameras, livestreaming, and sponsor activations may need much earlier access.
Build backward from doors open. Your event load-in checklist should reserve time for installation, testing, technical rehearsal, room reset, safety checks, and a troubleshooting buffer.
Build Your Event Load-In Schedule Backward From Doors Open
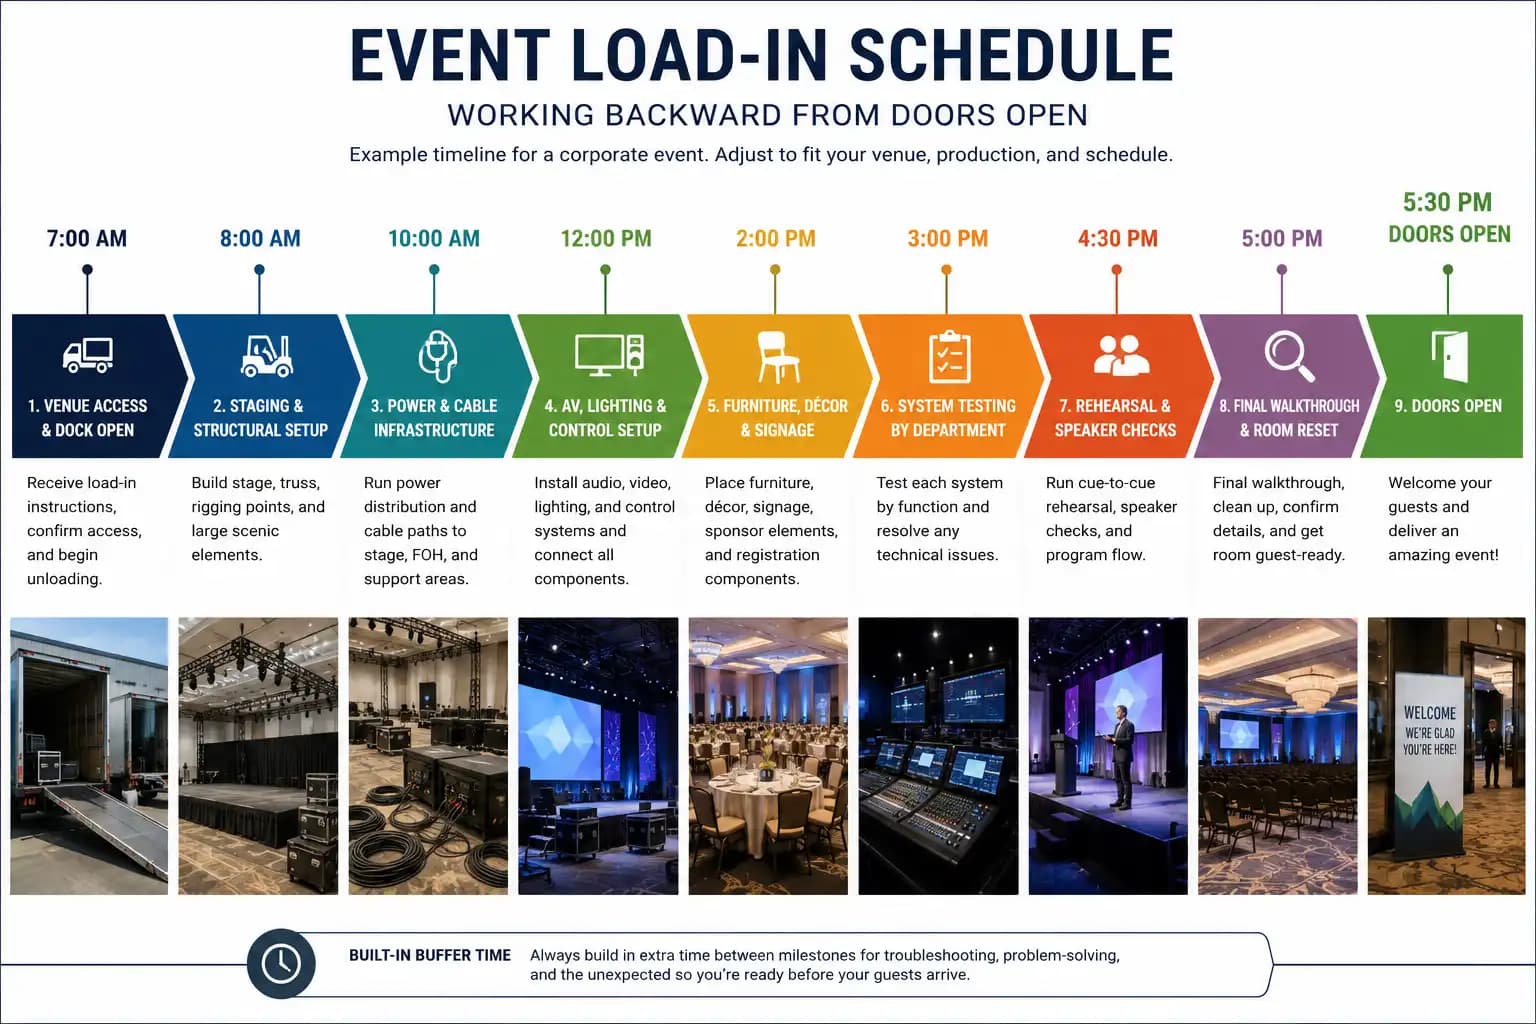
Start with the guest arrival time and work backward through every dependency.
If doors open at 5:30 p.m., for example, the room might need to be guest-ready by 5:00, rehearsal finished by 4:30, and technical checks complete by 3:30. Exact times vary; the backward-planning logic does not.
A useful event load-in schedule should include:
- Venue access time and room handover
- Loading dock or curbside delivery windows
- Freight elevator reservations
- Crew call times
- Truck arrival sequence
- Staging and structural setup
- Power distribution and cable routes
- Audio, video, lighting, and control setup
- Furniture, décor, signage, and sponsor installations
- System testing and troubleshooting
- Speaker sound checks and technical rehearsal
- Final room reset and safety walk
- Doors open
- Load-out and venue handback
This is where an event load-in checklist becomes more useful than a generic event setup checklist. It connects tasks by dependency instead of simply listing everything that needs to happen.
The 11-Step Event Load-In Checklist
1. Confirm the venue access window in writing
Do not assume your booking time means production access time.
Confirm when the loading dock opens, when the event room is released, whether another event is striking before yours, which entrance crews must use, and when the venue requires the room back after the event.
Record dock rules, parking restrictions, security check-in, elevator dimensions, door clearances, and any required credentials in the event load-in checklist. Large cases, stage decks, carts, and scenic pieces can become expensive problems if they physically cannot reach the room.
2. Assign one load-in lead
One person should own the master production schedule and make sequencing decisions on site. Their job is to know what is arriving, what is late, what is blocking the next task, and who can approve changes.
For larger events, assign department leads for AV, staging, décor, catering, registration, sponsors, and venue operations, while keeping one central decision-maker.
3. Schedule trucks and vendors instead of letting everyone arrive at once
A venue loading dock is a limited resource. If AV, furniture, catering, florals, décor, rental equipment, and sponsor shipments all arrive together, the bottleneck starts before setup begins.
Your event load-in checklist should give each truck or vendor a practical arrival window. Include the driver or supplier contact, vehicle size where relevant, unloading location, expected duration, and the person receiving the delivery.
4. Confirm power before equipment is positioned
Power affects equipment placement and cable routes to the stage, control area, registration, and sponsor zones.
Coordinate the event load-in checklist with the event power requirements plan before the room is built around bad assumptions. Confirm available circuits, dedicated power, distribution points, and mission-critical systems. Visible wall outlets are not proof that the room can support the full production.
5. Build in the correct order
The best setup sequence depends on the venue and production design, but heavy structural work usually needs space before delicate finishing work begins.
A practical sequence may look like this:
- Floor protection and work-zone control
- Rigging or structural preparation where applicable
- Staging and large scenic elements
- Main power and cable pathways
- Video, audio, lighting, and control systems
- Secondary screens, confidence monitors, cameras, and comms
- Furniture, décor, sponsor elements, and signage
- Testing, rehearsal, cleanup, and guest reset
When staging is a major part of the design, coordinate the build with the event staging team so decks, stairs, ramps, drape, screens, and equipment do not compete for the same space.
What should be installed first during event setup?
Install according to physical and technical dependencies, not according to whichever truck arrives first.
Anything that requires clear floor space, overhead access, long cable paths, lift equipment, or heavy movement should usually be addressed before chairs, linens, floral arrangements, and final décor fill the room. The event load-in checklist should make those dependencies visible to every supplier.
6. Establish safe work zones and clear travel paths
Load-in is a working environment. Cases, carts, temporary cables, lifts, and multiple crews can create hazards quickly.
Keep exits and travel routes clear. Separate active work zones from unnecessary foot traffic, and remove loose packaging, spills, or obstructions promptly.
For general workplace lifting and material-handling guidance, review the Canadian Centre for Occupational Health and Safety guidance on safe lifting. If hoists are being used, CCOHS also publishes specific material-hoist precautions. Complex rigging should be handled by qualified personnel under the applicable venue rules, manufacturer requirements, laws, and standards.
7. Check equipment against the production plan as it enters
Finding a missing adapter at 2:00 p.m. is better than finding it at 5:20 p.m. As equipment arrives, confirm critical items against the production scope: microphones, speakers, consoles, displays, playback computers, switchers, lighting, networking gear, stage pieces, cables, adapters, power distribution, backups, and communications.
For larger shows, split the event load-in checklist by department so each lead signs off on the equipment they own. If additional equipment is required, the site’s AV rental inventory can be reviewed against the final technical scope.
8. Test systems by function, then test them together
A powered-on system is not a tested system. Check audio for microphones, coverage, playback, and backups; video for resolution, routing, content, and visibility; lighting for focus and cues; and hybrid systems for audio, video, network stability, remote participants, and recording.
Your event load-in checklist should include both department-level testing and an integrated test. The show depends on these systems working together.
9. Protect the rehearsal window
Do not let setup expand until the first guest arrives.
Set a hard technical-completion milestone before rehearsal. By that time, all show-critical systems should be operational enough to run the program in sequence.
Use the event rehearsal checklist to test speaker entrances, microphone handoffs, presentation playback, videos, walk-on music, lighting cues, remote speakers, sponsor moments, and transitions.
How much buffer time should you leave?
Leave enough time to solve a realistic technical problem without sacrificing rehearsal or opening the doors late.
There is no single correct buffer. The event load-in checklist should identify the highest-risk dependencies and place contingency around those moments, not only at the end of the schedule.
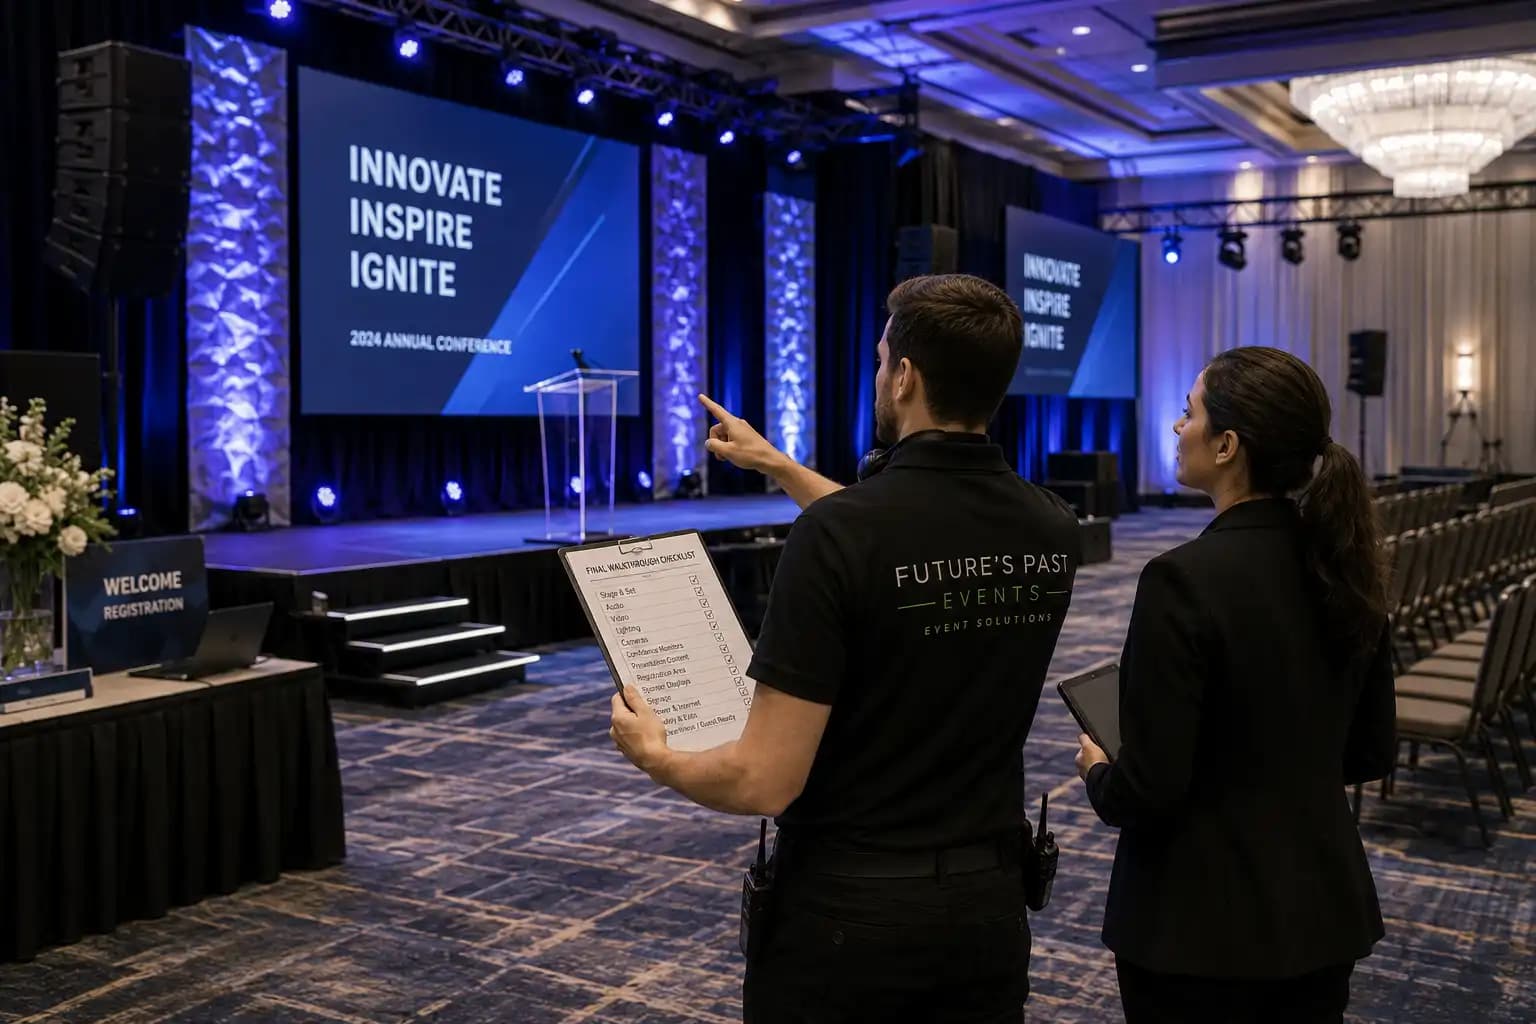
10. Conduct a final guest-ready walkthrough
Before doors open, stop thinking like a crew member and walk the event like an attendee.
Check that cables are protected, cases and packaging are removed, screens show the correct content, microphones are in position, lighting is at the pre-show look, signage is straight, registration is ready, sponsor areas are powered, and emergency exits remain clear.
The Event Safety Alliance publishes event safety standards and guidance covering venue and site design, communication, rigging, temporary staging, and other live-event risks. Use those resources as background guidance alongside Canadian law, venue policies, and the qualified professionals responsible for your event.
The event load-in checklist should end with a clear handoff: production ready, venue ready, and guest areas released.
11. Plan load-out before the show begins
Load-out is not simply load-in in reverse. Crews are tired, venue deadlines may be tight, elevators may be shared, and suppliers may have different pickups.
Add the load-out plan to the same event load-in checklist. Confirm strike order, dock access, truck calls, equipment ownership, waste removal, venue inspection, and the final sign-off owner.
A Sample AV Setup Timeline
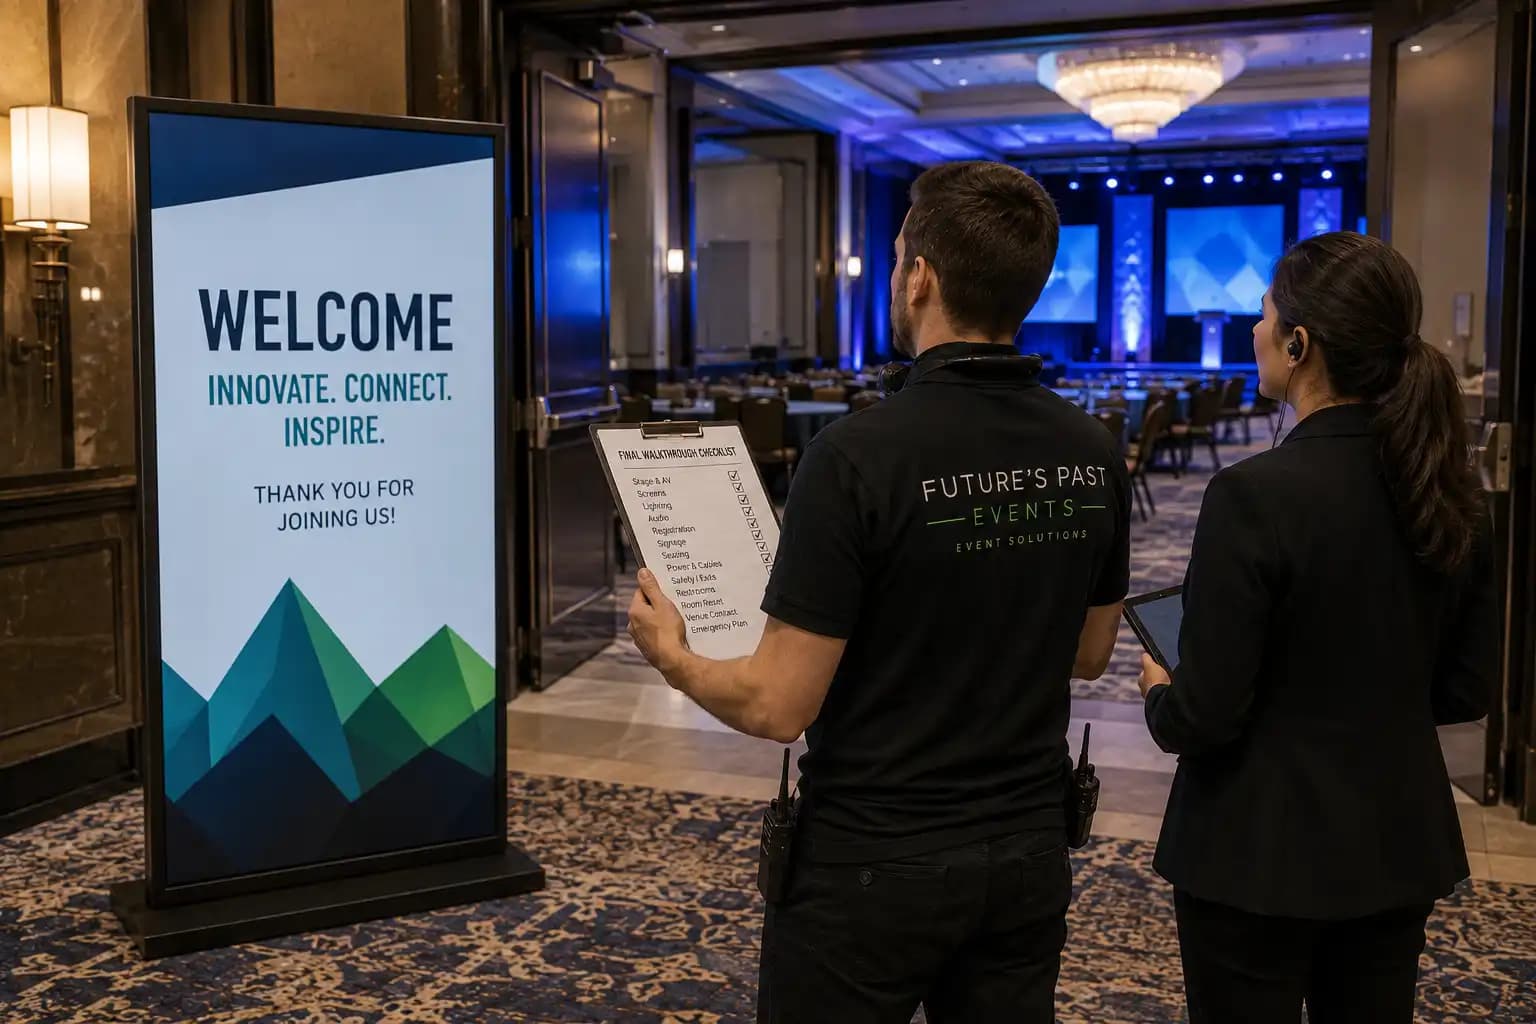
Here is a simplified example for an evening corporate event. It is an illustration, not a universal schedule.
| Time | Milestone | Main Responsibility |
|---|---|---|
| 7:00 a.m. | Venue access, dock opens, floor protection | Venue + production lead |
| 7:30 a.m. | Staging, large scenic pieces, primary infrastructure | Staging + production |
| 9:30 a.m. | Audio, video, lighting, control, cable runs | AV team |
| 12:30 p.m. | Furniture, décor, sponsor and registration setup | Event vendors |
| 2:00 p.m. | Department-level testing | Technical leads |
| 3:00 p.m. | Integrated technical check | Production team |
| 3:45 p.m. | Speaker checks and cue-to-cue rehearsal | Producer + speakers |
| 4:45 p.m. | Room reset and final walkthrough | All leads |
| 5:00 p.m. | Guest-ready hold | Production + venue |
| 5:30 p.m. | Doors open | Front-of-house team |
The purpose of this example is to show dependencies. Your event load-in checklist should be based on the real venue, equipment package, staffing plan, room count, event format, and contractual access window.
Common Load-In Mistakes That Create Expensive Delays
The same problems appear repeatedly because teams underestimate how connected the setup process is.
Avoid these mistakes:
- Booking vendors without coordinating arrival windows
- Forgetting freight elevator or dock reservations
- Building furniture or décor before AV cable paths are complete
- Assuming power and internet are “included” without technical confirmation
- Leaving presentation files and media testing until rehearsal
- Allowing non-essential changes to interrupt critical setup
- Failing to assign one person to approve schedule changes
- Using every available minute for setup with no troubleshooting buffer
- Treating load-out as an afterthought
A useful event load-in checklist does not eliminate every surprise. It gives the team a structure for absorbing surprises without losing control of the show.
How to Plan Event Load-Out Before Guests Arrive
Before the event starts, decide what happens when it ends.
Confirm when guests must leave, when strike can begin, whether noisy work is restricted, when the dock reopens, and which supplier gets first access. Label equipment and cases clearly so items return to the correct owner.
Keep show-critical systems live until they are no longer needed. For example, do not dismantle communications, work lights, or safety-critical infrastructure simply because the audience has left.
A complete event load-in checklist should finish with venue handback, not with doors open. That final step protects rental equipment, labour efficiency, venue relationships, and the next event on the calendar.
Bring Your Load-In Plan Into the Full Production Process
The strongest event load-in checklist is built with the same people who will execute it.
Future’s Past Events supports corporate events, hybrid programs, trade shows, galas, and other productions across Toronto and the GTA with AV production, rentals, lighting, staging, and related event services. Bringing the production team into load-in planning early helps connect the creative plan to the real venue access, equipment, power, testing, rehearsal, and staffing requirements.
If your event has multiple vendors, a compressed venue window, complex AV, staging, livestreaming, or a high-stakes program, use the event load-in checklist before the schedule is locked. Then contact Future’s Past Events to review the venue, technical scope, and production timeline before show day.
Related posts
Awards Show Production: 10 Steps to a Ceremony That Runs on Time
Awards show production is what turns a list of winners into a night people remember. Every category needs a clean reveal, every winner needs to reach the stage without a long silence, and the whole program has to finish before the room loses its energy. That only happens when the show is…
Corporate Holiday Party AV: 9 Steps to a Memorable Year-End Night
Corporate holiday party AV decides whether the evening feels like a celebration or like a conference room with a buffet. The CEO's toast has to be heard over three hundred conversations, the year-in-review video has to play on cue, and the room has to change from dinner to dance floor without…
Town Hall AV: 9 Steps to a Clear, Reliable Corporate Town Hall
Town hall AV can make the difference between a leadership message that feels clear and confident and one that gets lost in weak audio, hard-to-read slides, awkward transitions, or a poor remote experience. A corporate town hall may look like a simple meeting, but once you add executives, audience Q&A, presentations,…